August 2020
So you want to make a iOS home screen widget react-native?
I’m sorry to dissapoint you will not be able to do a home screen widget with react-native…, ok, I might be partially lying, you might be able to load an RCTRootView to use react-native into the widget but IMHO this is a bad idea, rather what you want is make a native widget communicate with your rn app.
Firstly widgets do not constantly run, but are rather are refreshed by the OS at discrete intervals.
Secondly there is a very tight memory limitation, you cannot add more than a few thousand data points into them, once you go over the memory limitation (in my testing 30mbs-40mbs), the widget simply refuses to render.
Trying to cram react-native on top of this limitations is IMO a bad idea, however you can make your widget play nicely with your react-native app.
Compile your app first as is to see if works, in my case I got a swift compilation error, as it turns out the widget target build settings was embedding an old version of the swift runtime, it got solved by following this issue, basically remove any swift path from the libraries search paths in the extension’s target Build Settings
We will go back to building the UI a bit later, for now let’s tackle the main problem, how do you connect your app to the widget.
Important point to clarify: iOS widgets work with a timeline of data points, based on a timestamp iOS will run 1 render cycle with the appropiatte data point, save a “snapshot” and that’s it, your job is to create the timeline of datapoints and to create the render function which takes one of mentioned datapoints.
The problem becomes, how do you create and share the data point timeline for the widget to consume the answer is: AppGroups
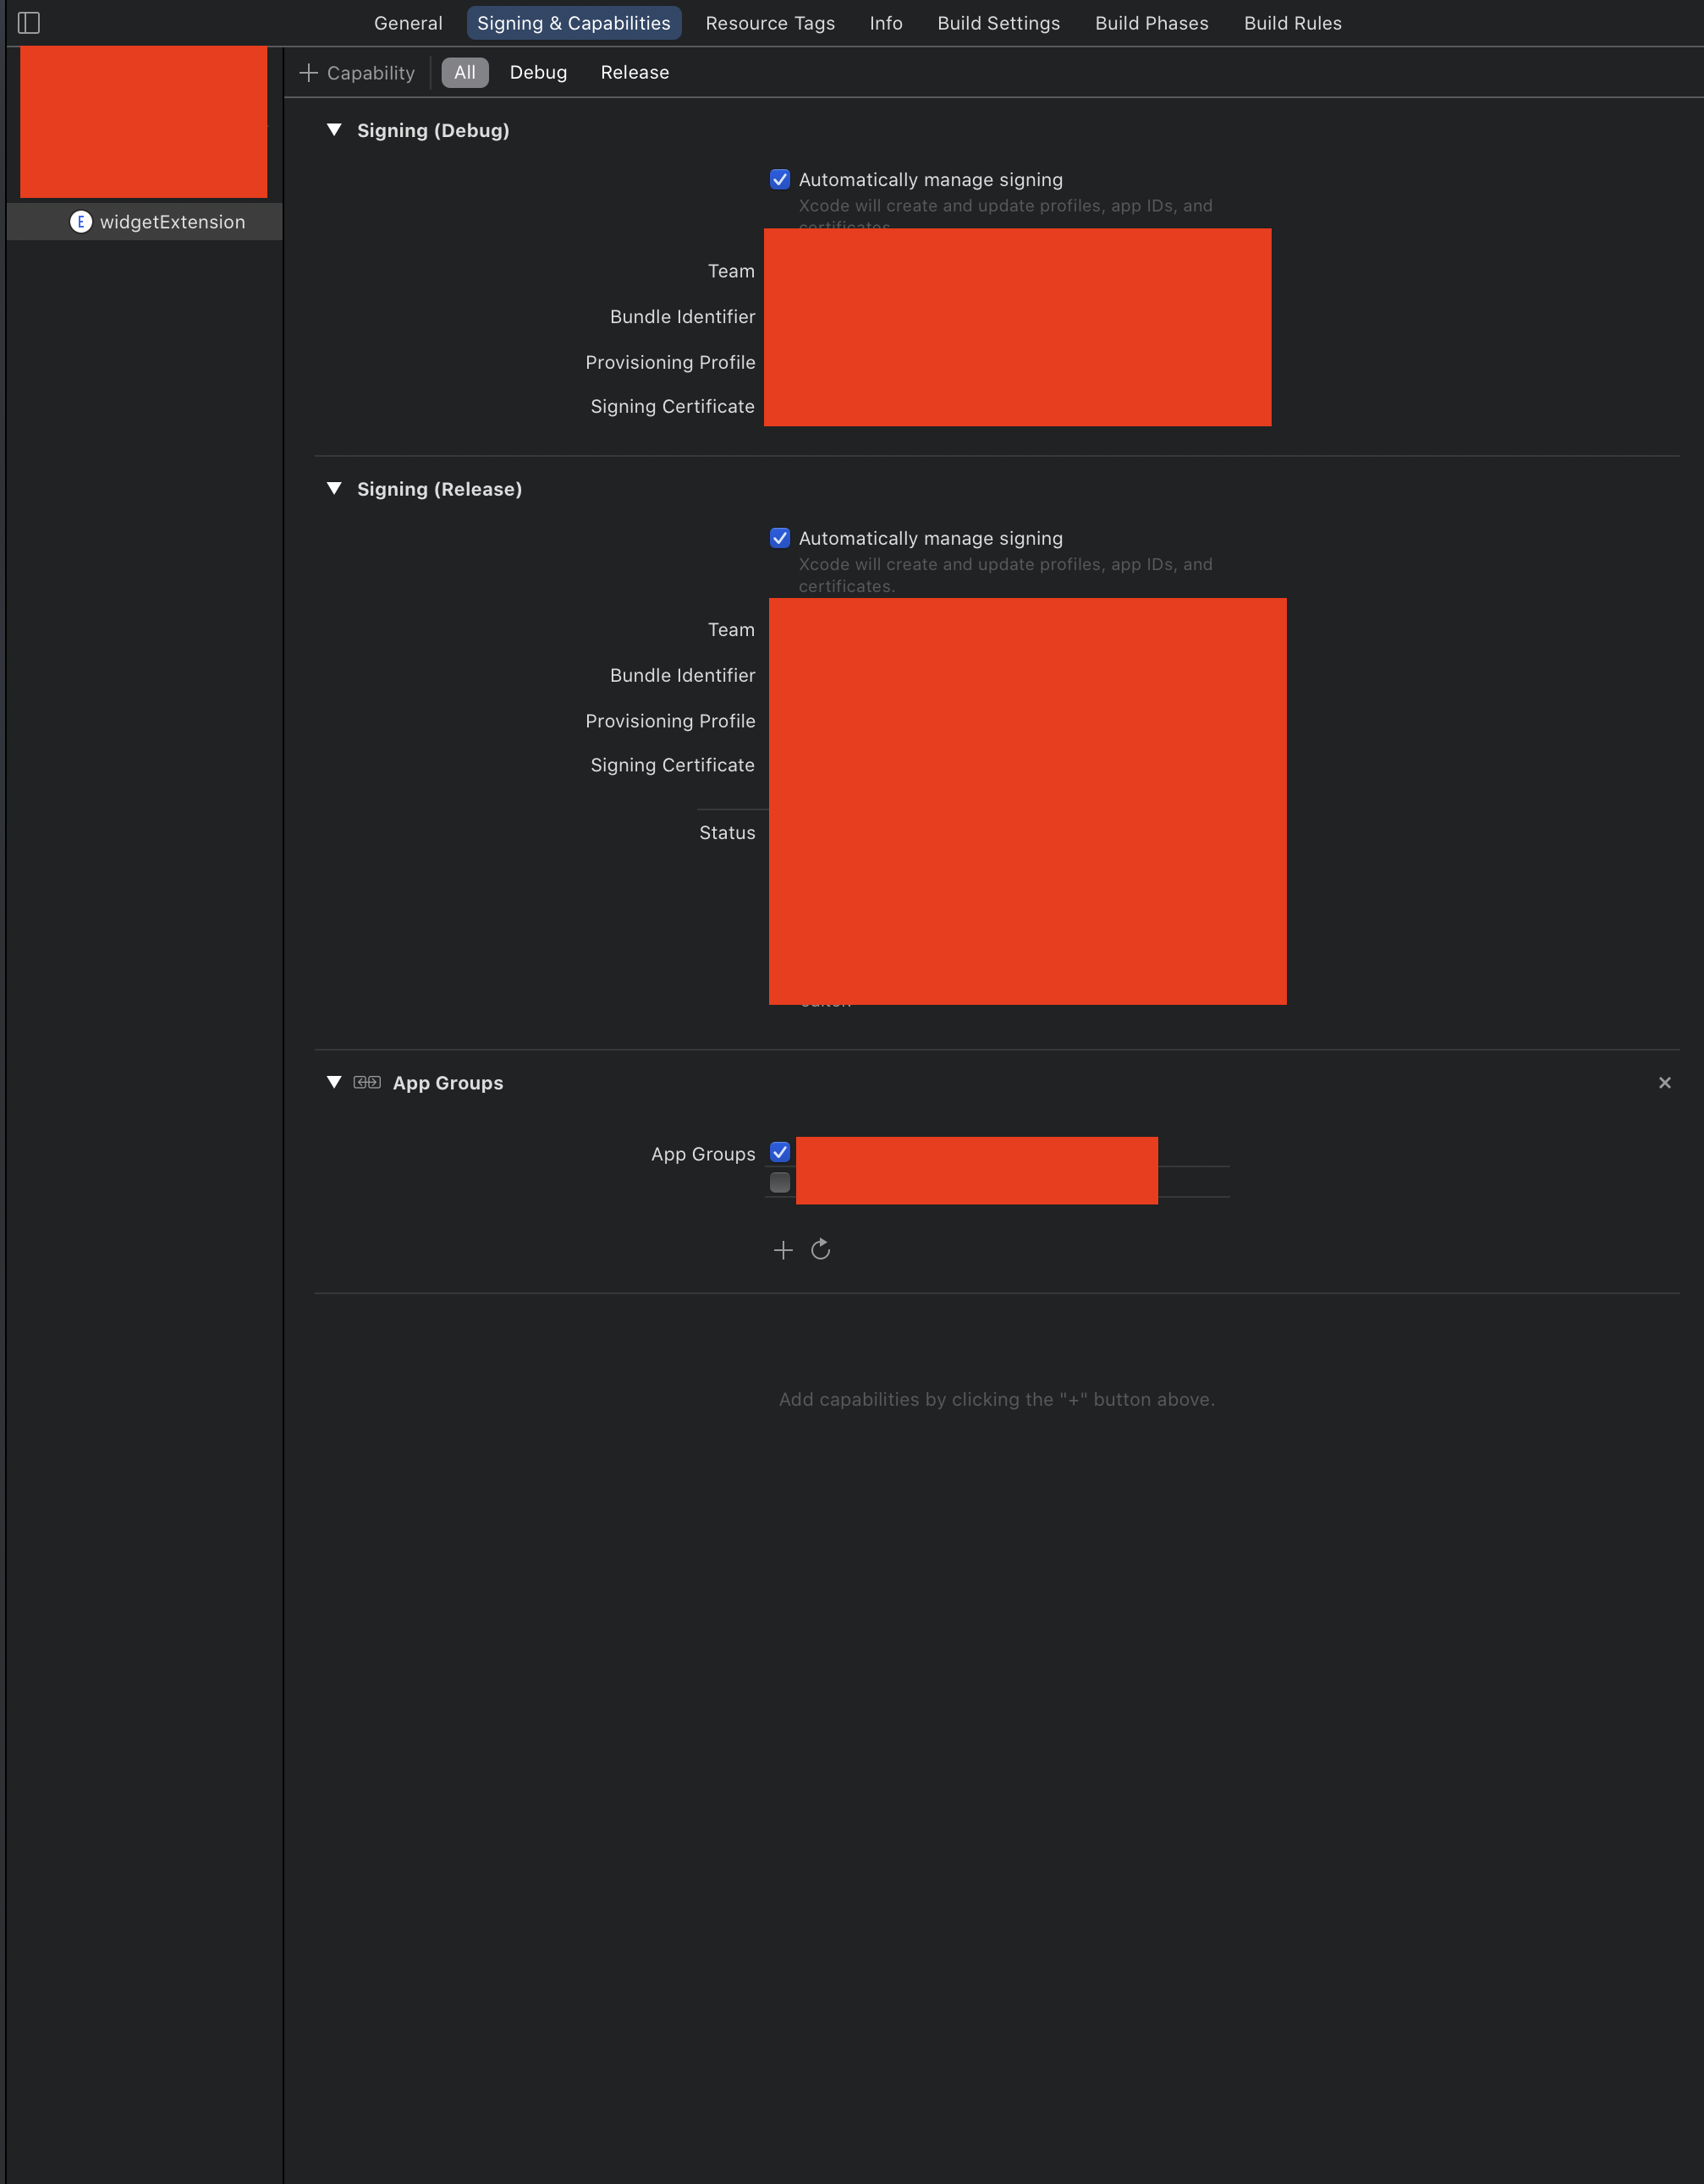
An AppGroup is basically a shared environment between multiple apps or targets, it allows you to share data between the package, you can create one directly from XCode, first add the capability in your project build settings for both targets (the main app and the widget extension).
IMPORTANT You need to have owner rights in your apple developer portal organization in order to create this group on the app store, this also means you will need to regenerate your provisioning profiles!
You can give a custom name to the AppGroup, xcode will prepend group. for you, so you should have something like group.com.yourcompany
You should end-up with something like this:

The next step is to write data to this shared group, if you google it you will find swift snippets out there, but luckily there is already a react-native-shared-group-preferences.
It’s worth repeating widgets are not that powerful, they are basically a view of a single data point
Here is an example of how you should prepare the timeline data for the widget
import SharedGroupPreferences from 'react-native-shared-group-preferences'

const appGroupIdentifier = 'group.com.yourcompany'

let myData = {
  datapoints: [
    {foo: 'bar', baz: 'boo', date: '2020-10-10T12:00:00z'},
    // ... more data points come here
  ]
}

SharedGroupPreferences.setItem('myAppData', myData, appGroupIdentifier)
Once that is done you can start on the swift side to read the data your app has created.
If you haven’t changed any of the code XCode generated for you, you should be able to modify the getTimeline function:
struct MyObject: Decodable {
  datapoints: DataPoint

  struct DataPoint: Decodable {
    foo: string,
    baz: string,
    date: string
  }
}

func getTimeline(in context: Context, completion: @escaping (Timeline<Entry>) -> ()) {
    let sharedDefaults = UserDefaults.init(suiteName: "group.com.yourcompany")
    var entries: [SimpleEntry] = []
    if sharedDefaults != nil {
      let aValue = sharedDefaults!.value(forKey: "myData") as! String
      if aValue != nil {
        let decoder = JSONDecoder()
        let data = aValue.data(using: .utf8)

        if let parsedData = try? decoder.decode(MyObject.self, from: data!) {
          let currentDate = Date()

          parsedData.periods.forEach { period in
            let entryDate = Calendar.current.date(byAdding: .hour, value: 1, to: currentDate)!
            entries.append(SimpleEntry(date: entryDate, start: period.start, end: period.end))
          }
        } else {
          print("Could not parse data")
        }

      }
    }


    let timeline = Timeline(entries: entries, policy: .atEnd)
    completion(timeline)
}

struct SimpleEntry: TimelineEntry {
    let date: Date
  let start: String
  let end: String
}
NOTE: This is not my actual code nor copy and pastable, use your head, you need to parse the ISO date you wrote into your structure, etc.
Basically:
As a side note and important for you to know, the final objects you put on the Timeline struct, need to comply with the TimelineEntry protocol, basically it needs to have a date field of type Date and that is it.
Look SwiftUI is not that hard, I know you want to make your widget in react-native… but the potential effort and troubles are not worth it, you are also creating a tiny UI, you cannot have any animations or any complex behavior, widgets are basically just a few text objects and some icons at most.
Here is an example swiftUI code to give you a rough feeling:
struct widgetEntryView : View {
    var entry: Provider.Entry

    var body: some View {
      VStack {
        Spacer()
        HStack {
          Spacer()
          ZStack {
            Circle()
              .fill(Color.white)
              .frame(width: 110, height: 110)
            Circle()
              .fill(Color.green)
              .frame(width: 80, height: 80)
          }
          Text(entry.start)
          Text(entry.end)
          Spacer()
        }
        Spacer()
      }
        .background(Color.green)
    }
}
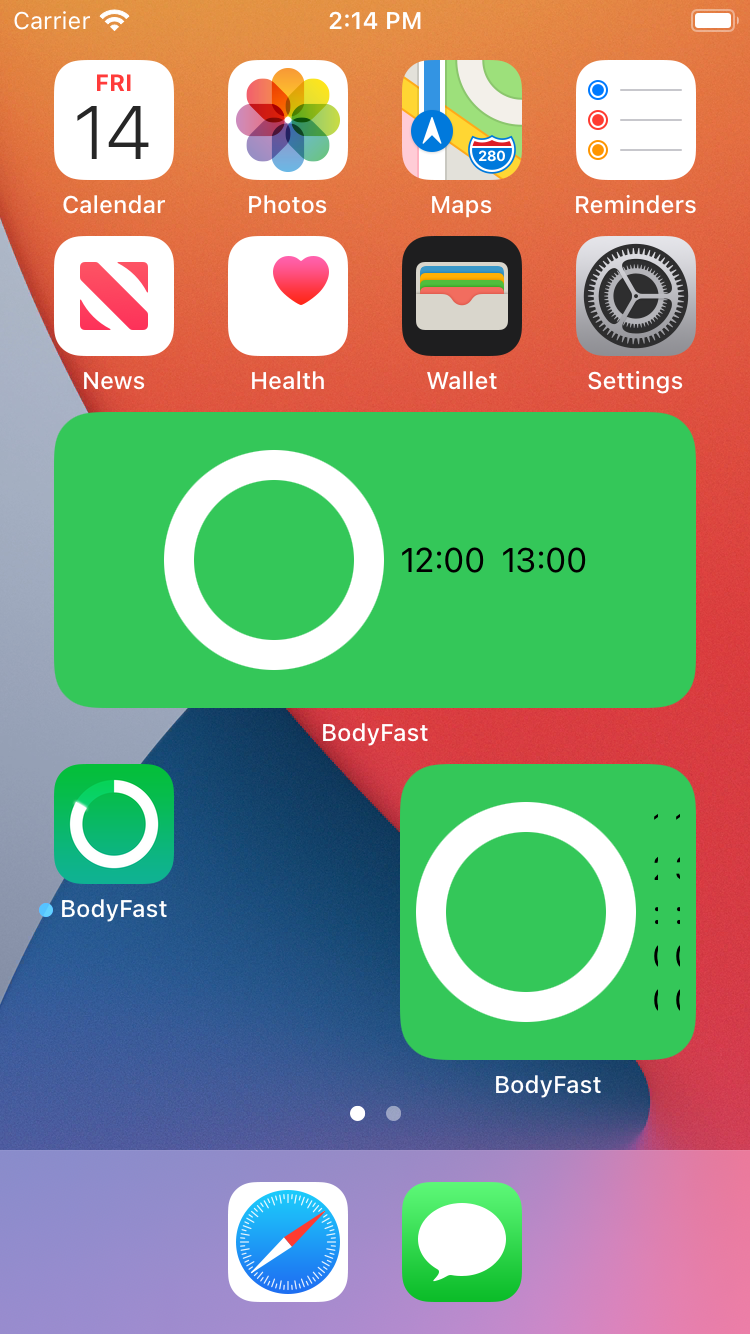
That produces the following widget

Basically, take the data you wrote into the app group and put it in the widget.
Cheers! you now have a iOS 14 widget for your react-native app. If you found this tutorial useful, follow me on twitter, I constantly post react-native and other programming trips and insights.